


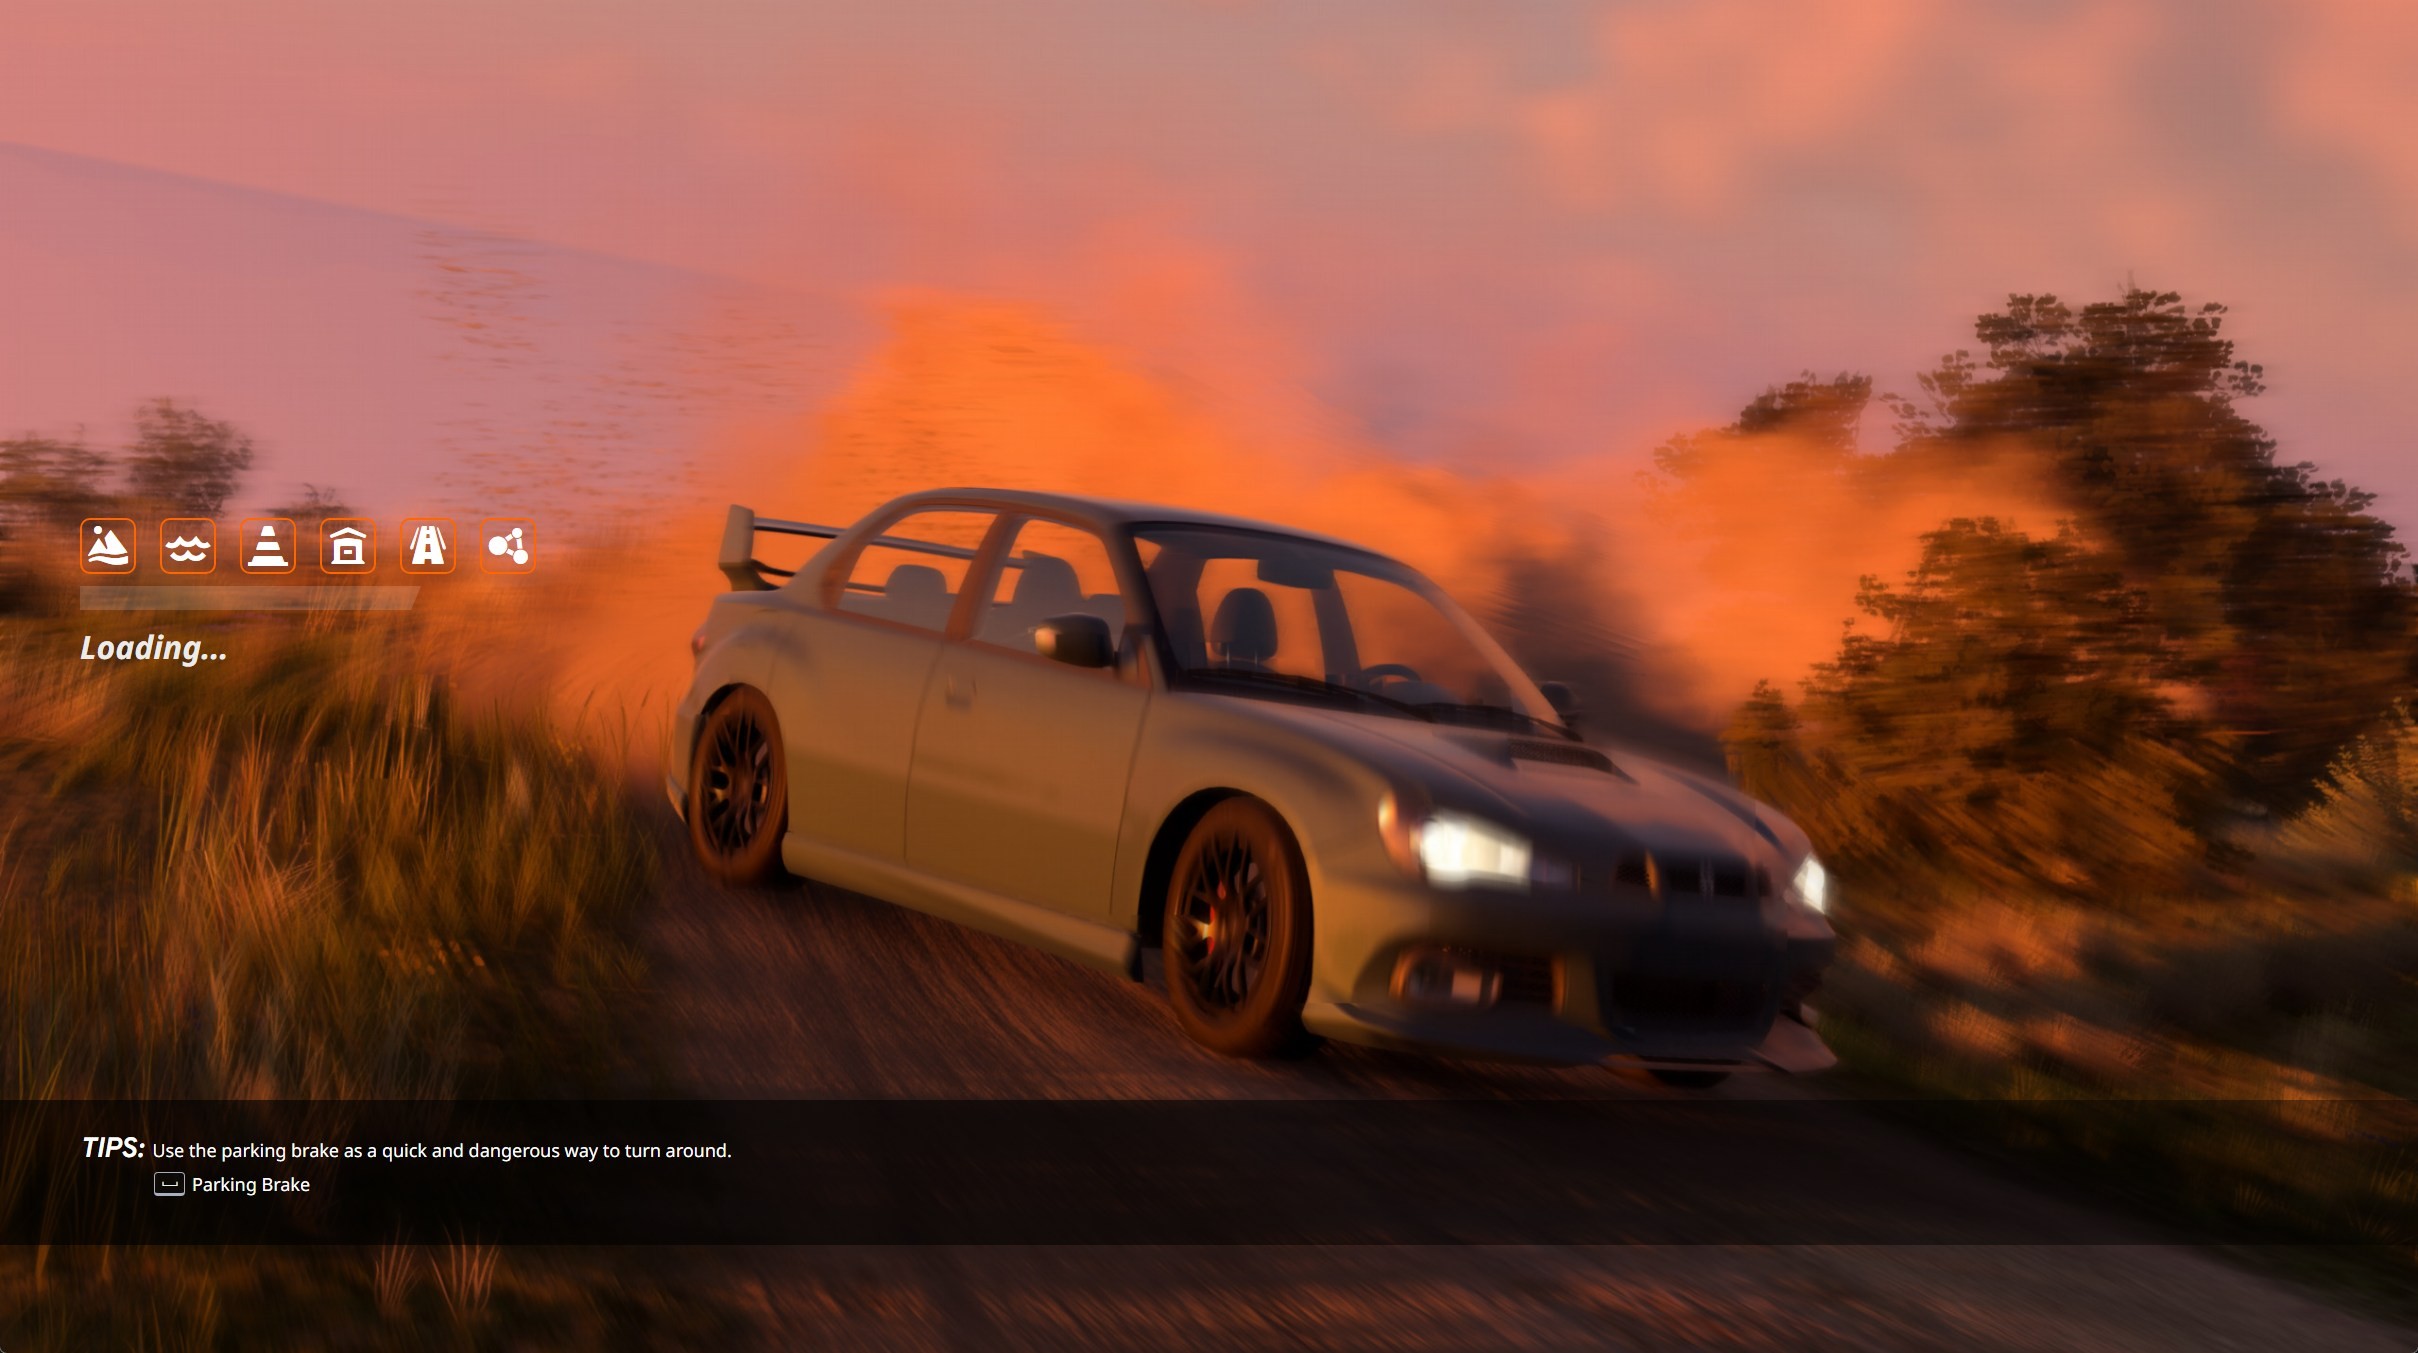

You can change BeamNG.drive's loading screens with a set of JPG images. Replacing the files directly is the quickest option, while a mod lets you keep the original game files untouched.
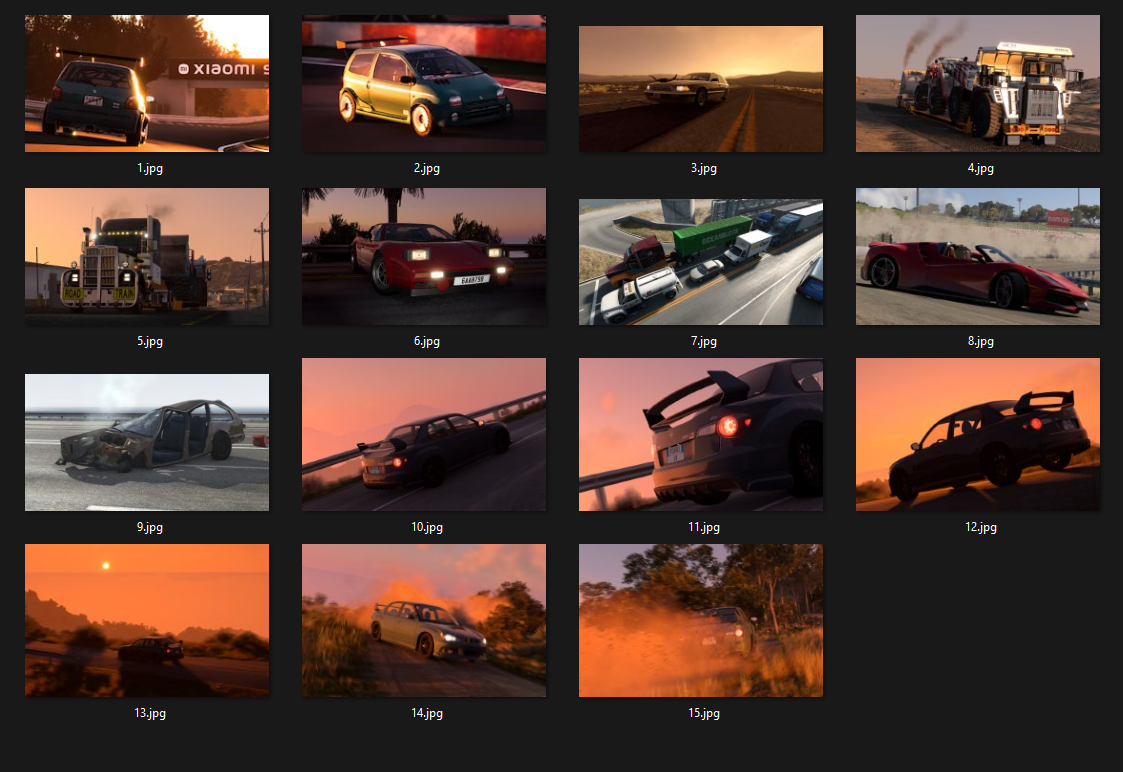
Start with 15 JPGs named 1.jpg through 15.jpg. Widescreen images such as 1920×1080 work well, though they don't have to be that exact size. If you don't have 15 different pictures, duplicate a few to fill the set.
Warning
Changing a PNG or WebP file's extension to .jpg won't convert it.
You can use a free tool, such as iLoveIMG, to convert PNG, GIF, TIFF, PSD, SVG, WebP, HEIC, or RAW files to JPG.
Replace the original images
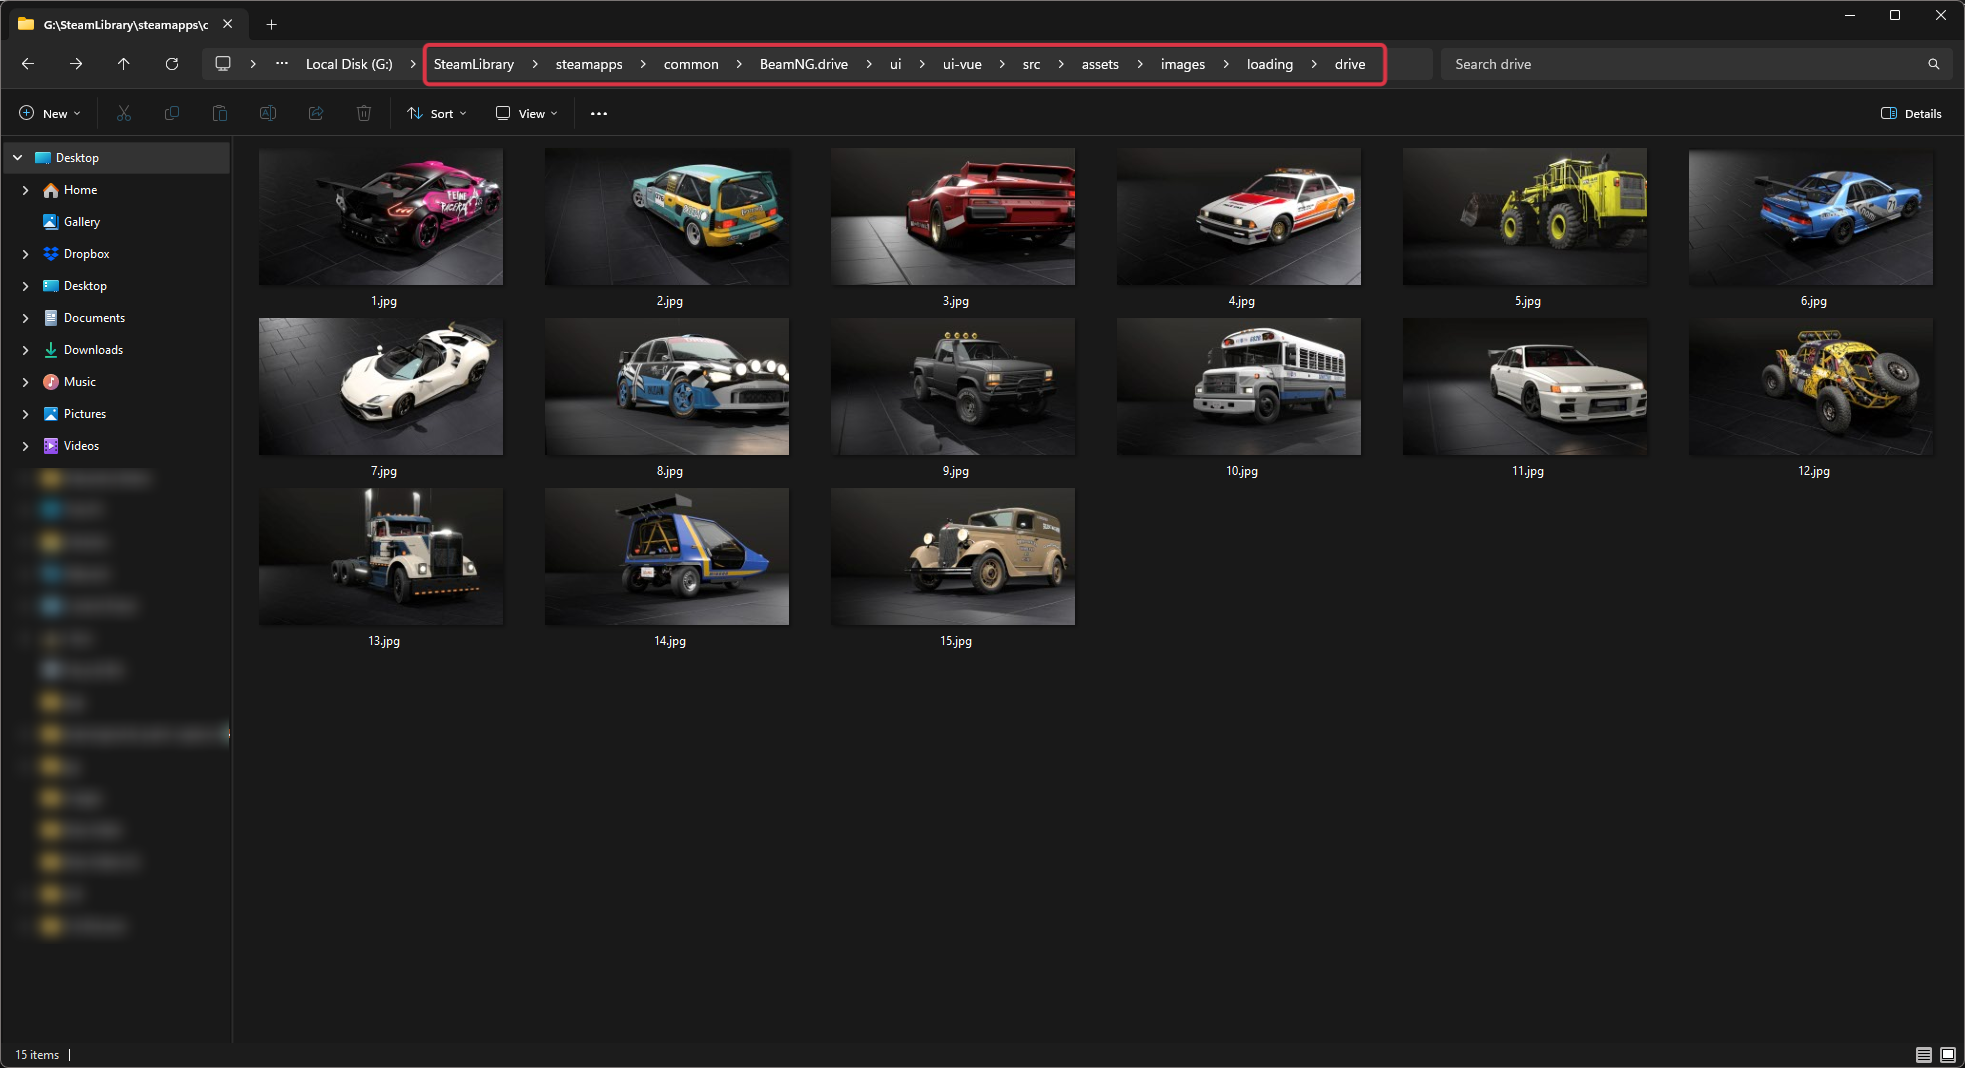
For a standard Steam installation, open: C:\Program Files (x86)\Steam\steamapps\common\BeamNG.drive\ui\ui-vue\src\assets\images\loading\drive\
If you installed the game in another Steam library, open your BeamNG.drive installation directory and navigate to: ui\ui-vue\src\assets\images\loading\drive\
You should see the original files named 1.jpg through 15.jpg.
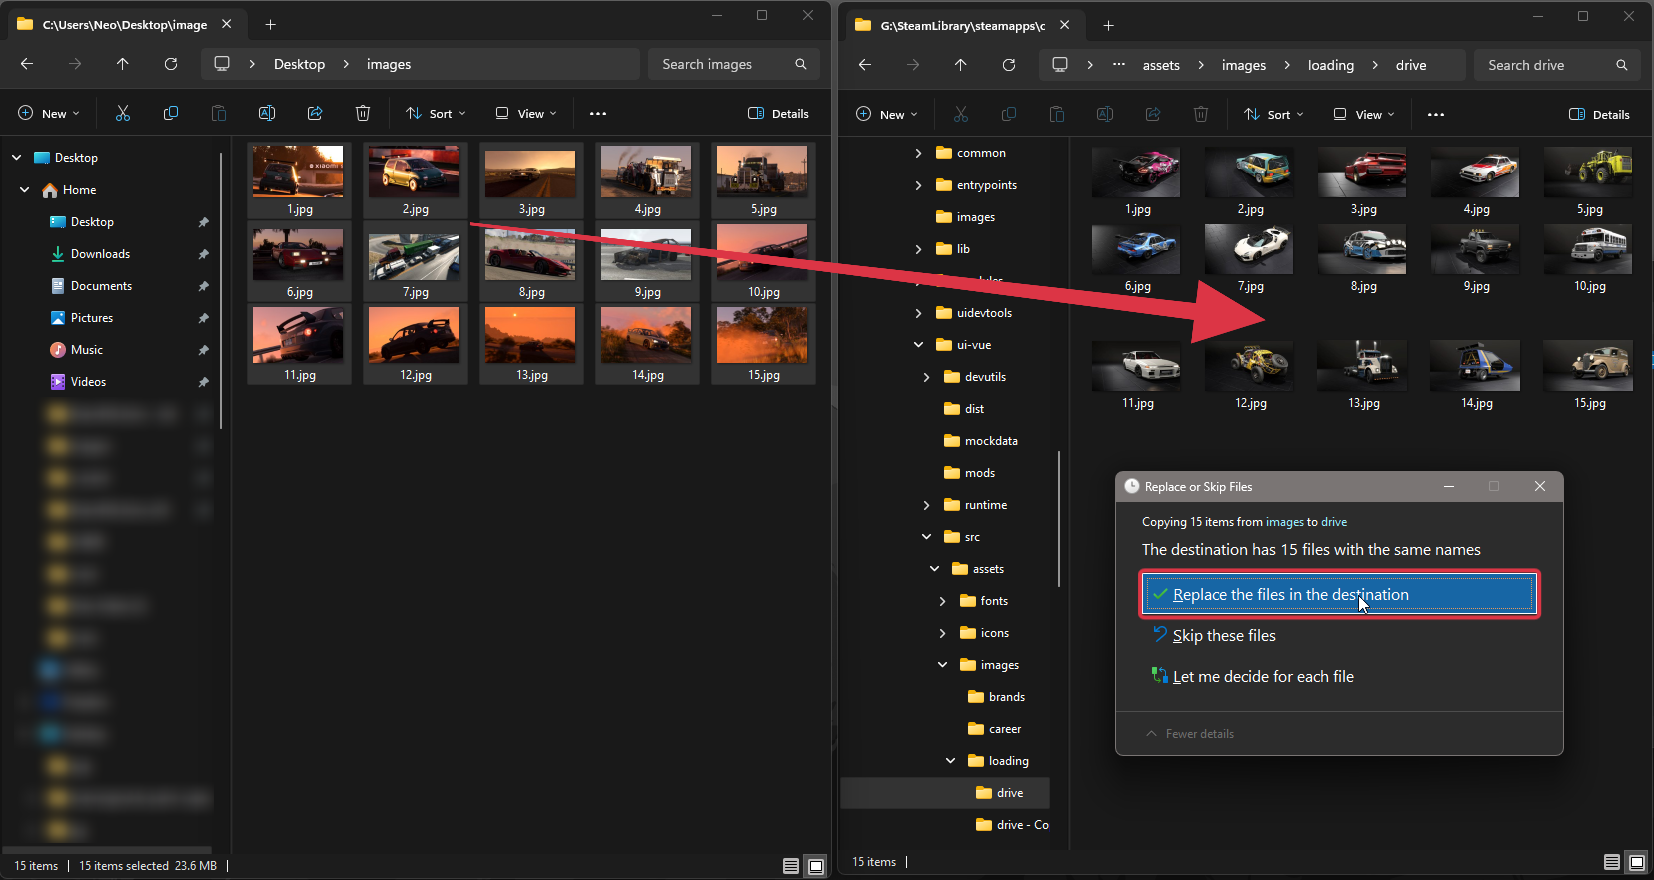
Copy the originals somewhere else if you want an easy way to restore them later. Then paste your 15 custom JPGs into the drive folder and choose Replace the files in the destination when Windows asks.
Keep the filenames as 1.jpg, 2.jpg, and so on, without prefixes such as drive_loading_. You don't need to edit loading.js or any other JavaScript file.
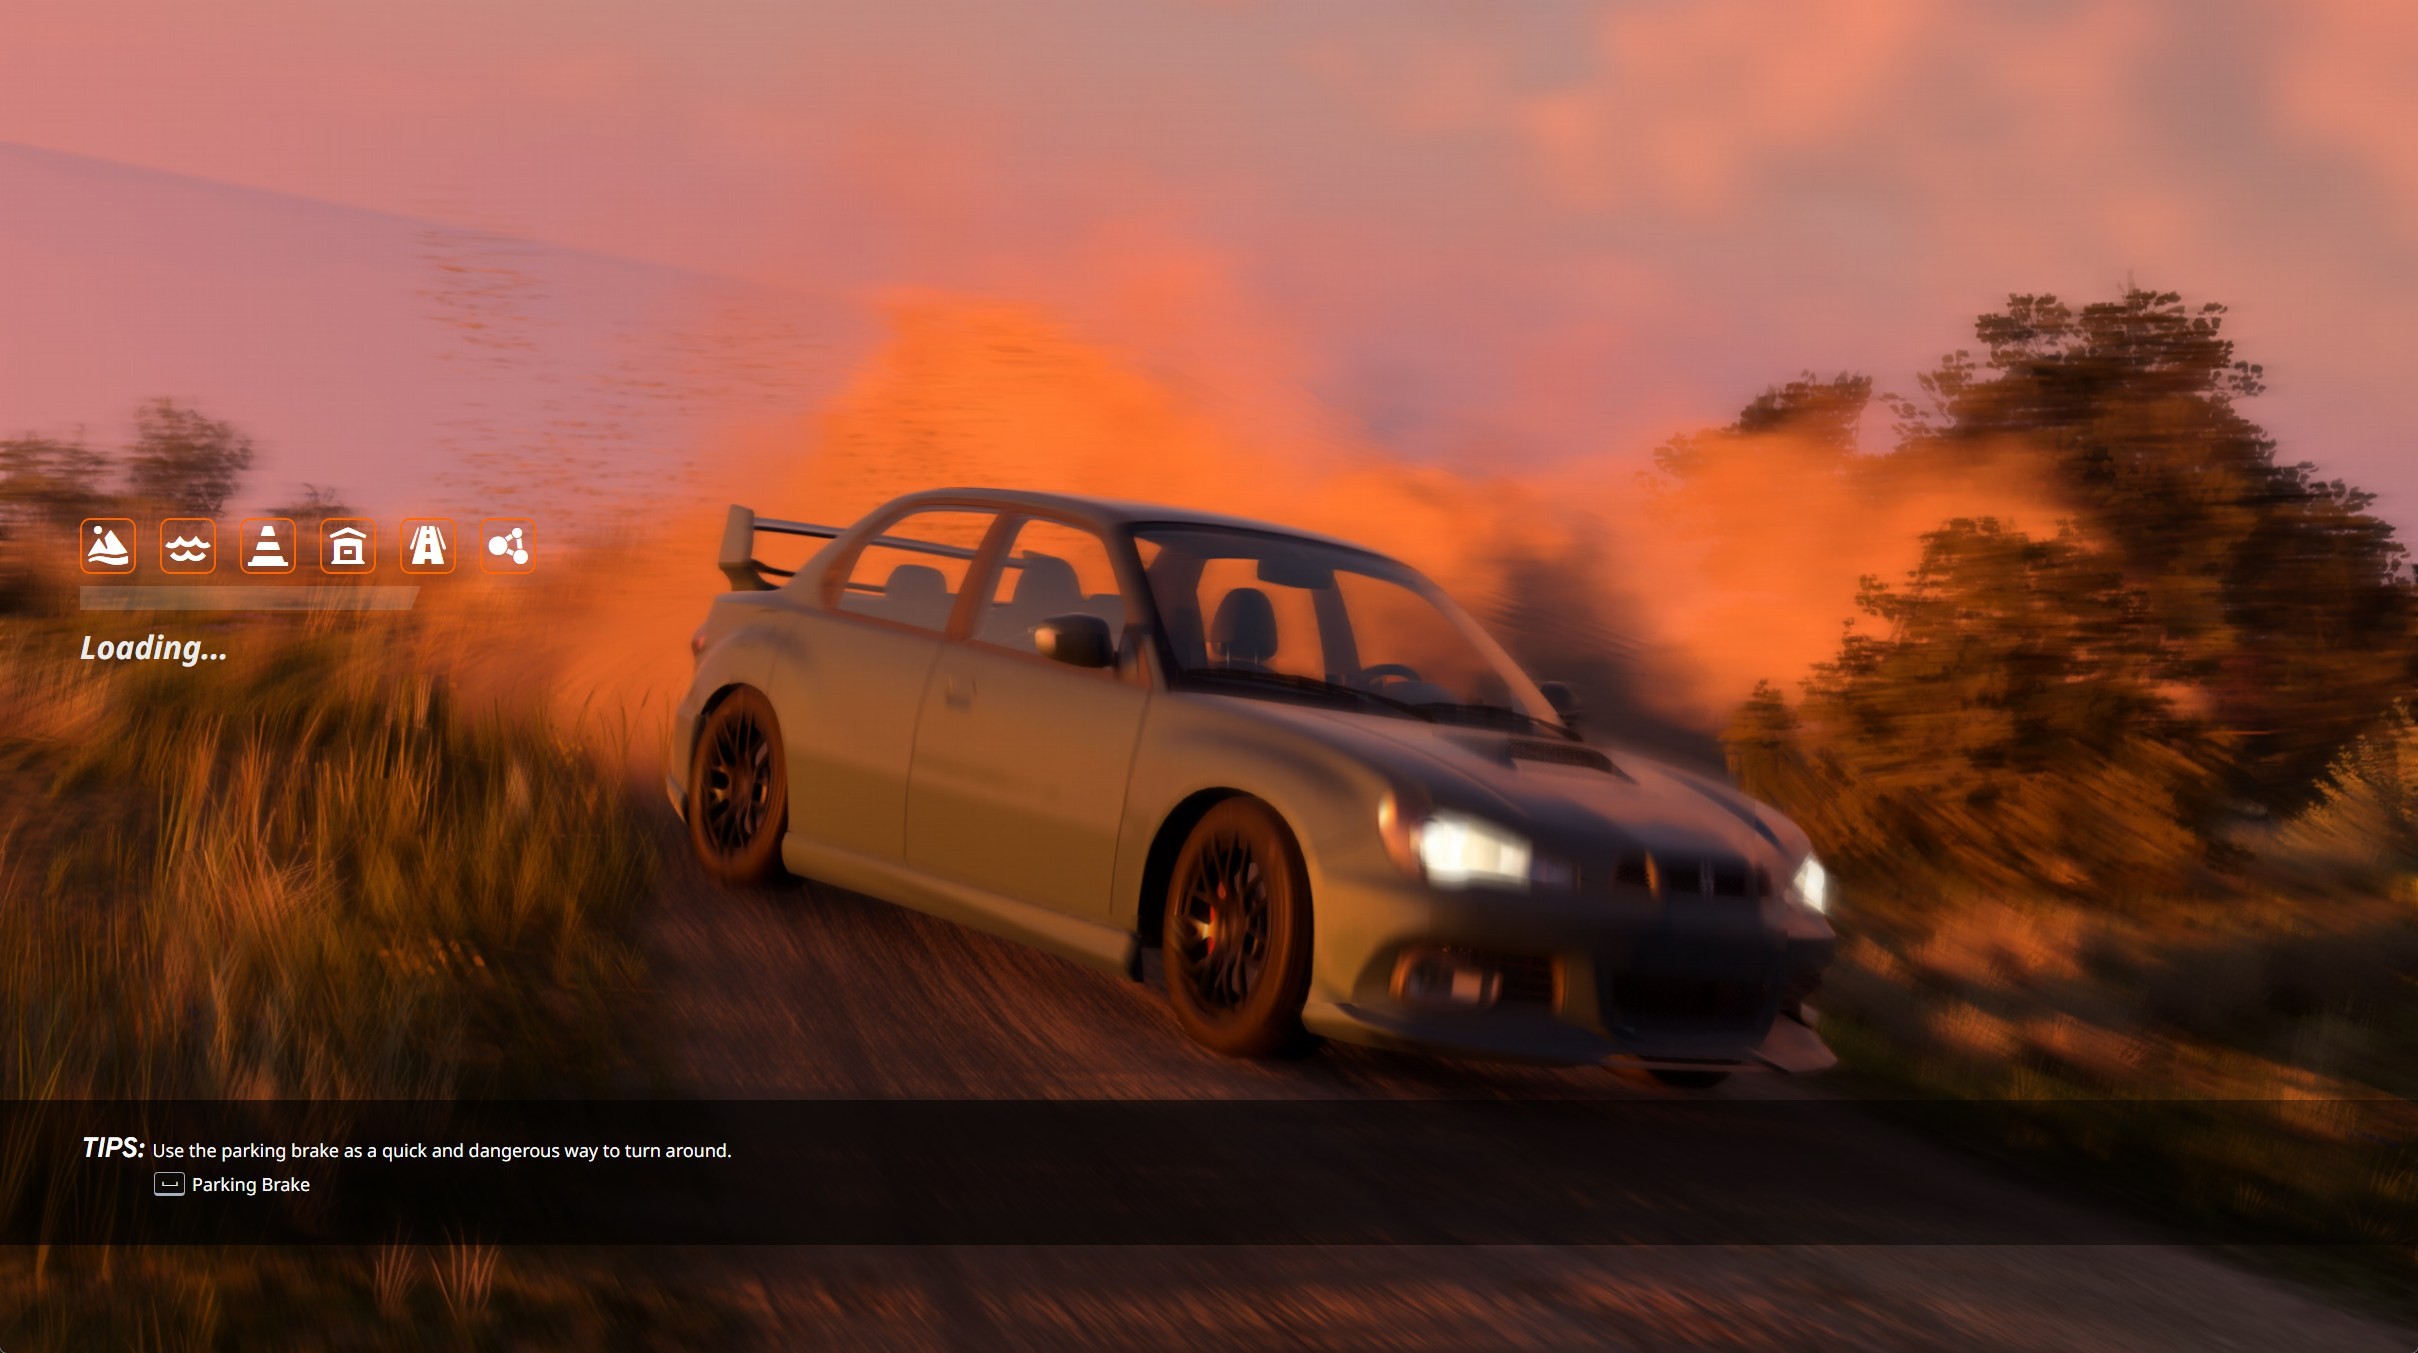
Launch the game and load a map. Your custom images should now appear on the loading screen.
Warning
Keep a spare copy of your custom images. Game updates or Steam's file verification may restore the originals, so you might need to copy yours back afterward.
Install the images as a mod
Use this method to keep the original game files untouched. You’ll package your images in a ZIP with a folder structure that matches the game’s loading image path.
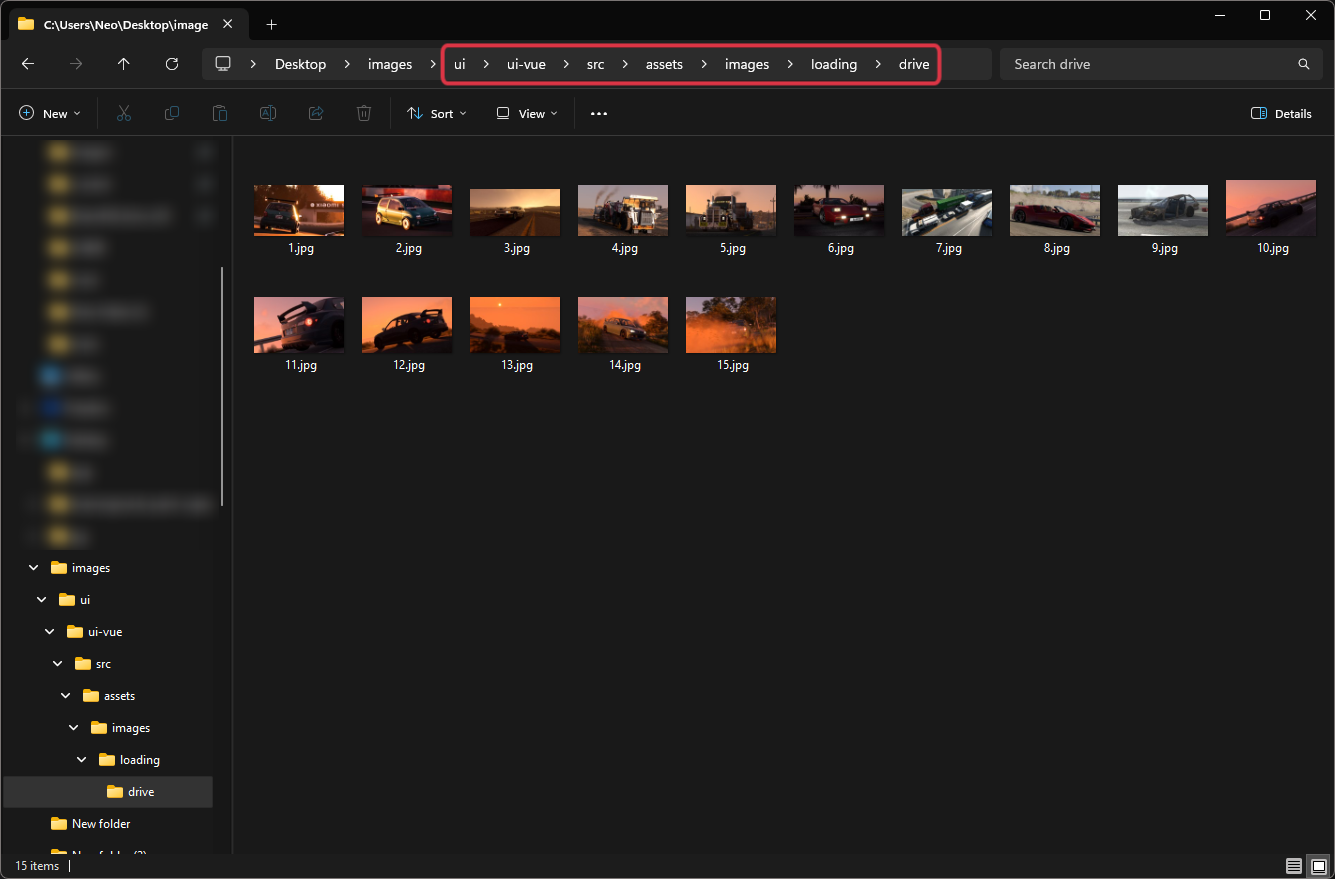
Make a folder structure that matches the game's image path, then put all 15 JPGs inside drive:
ui/
└── ui-vue/
    └── src/
        └── assets/
            └── images/
                └── loading/
                    └── drive/
                        ├── 1.jpg
                        ├── 2.jpg
                        ├── 3.jpg
                        ├── 4.jpg
                        ├── 5.jpg
                        ├── 6.jpg
                        ├── 7.jpg
                        ├── 8.jpg
                        ├── 9.jpg
                        ├── 10.jpg
                        ├── 11.jpg
                        ├── 12.jpg
                        ├── 13.jpg
                        ├── 14.jpg
                        └── 15.jpg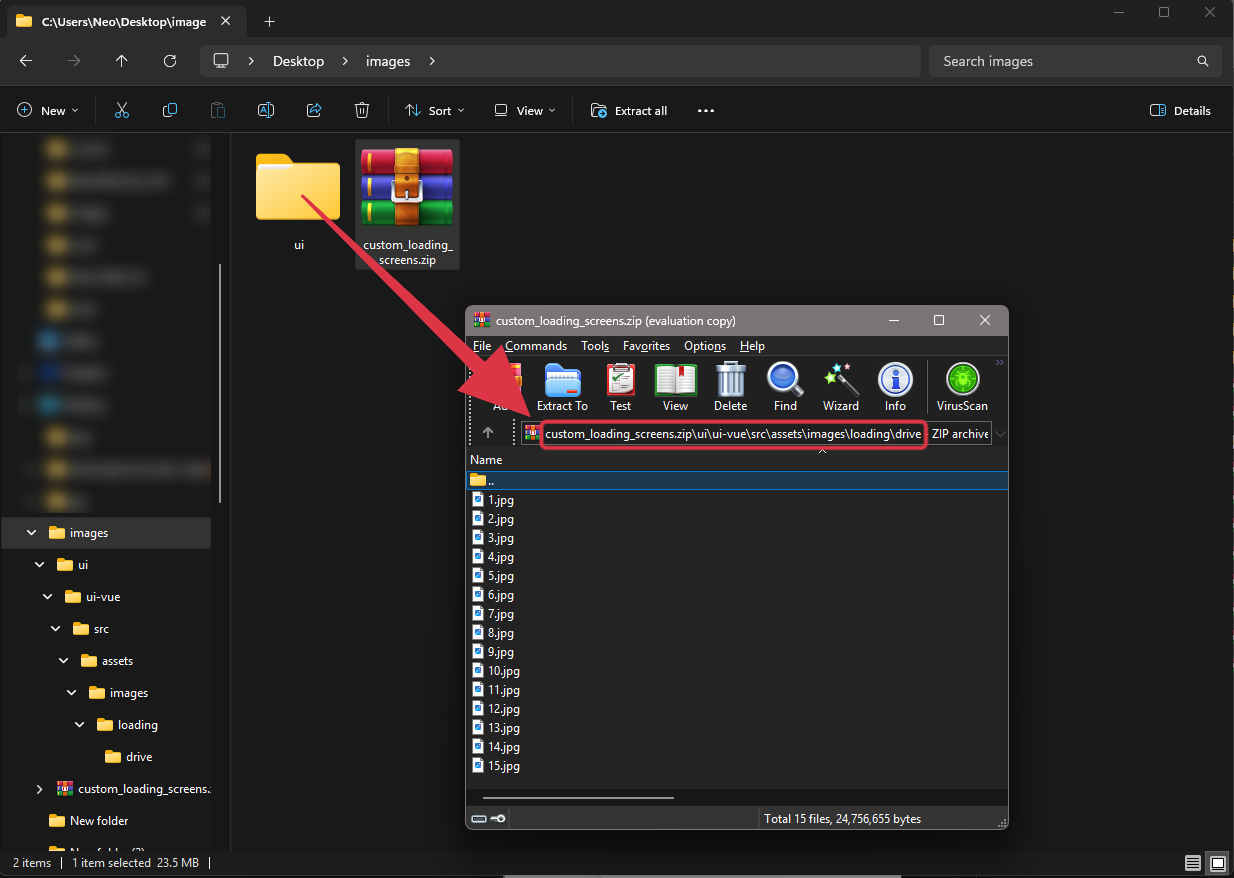
Create a ZIP containing the ui folder. A name like custom_loading_screens.zip is fine.
When you open the ZIP, ui should be the first folder you see. Don't put it inside another folder called custom_loading_screens, or the game may not find the images.
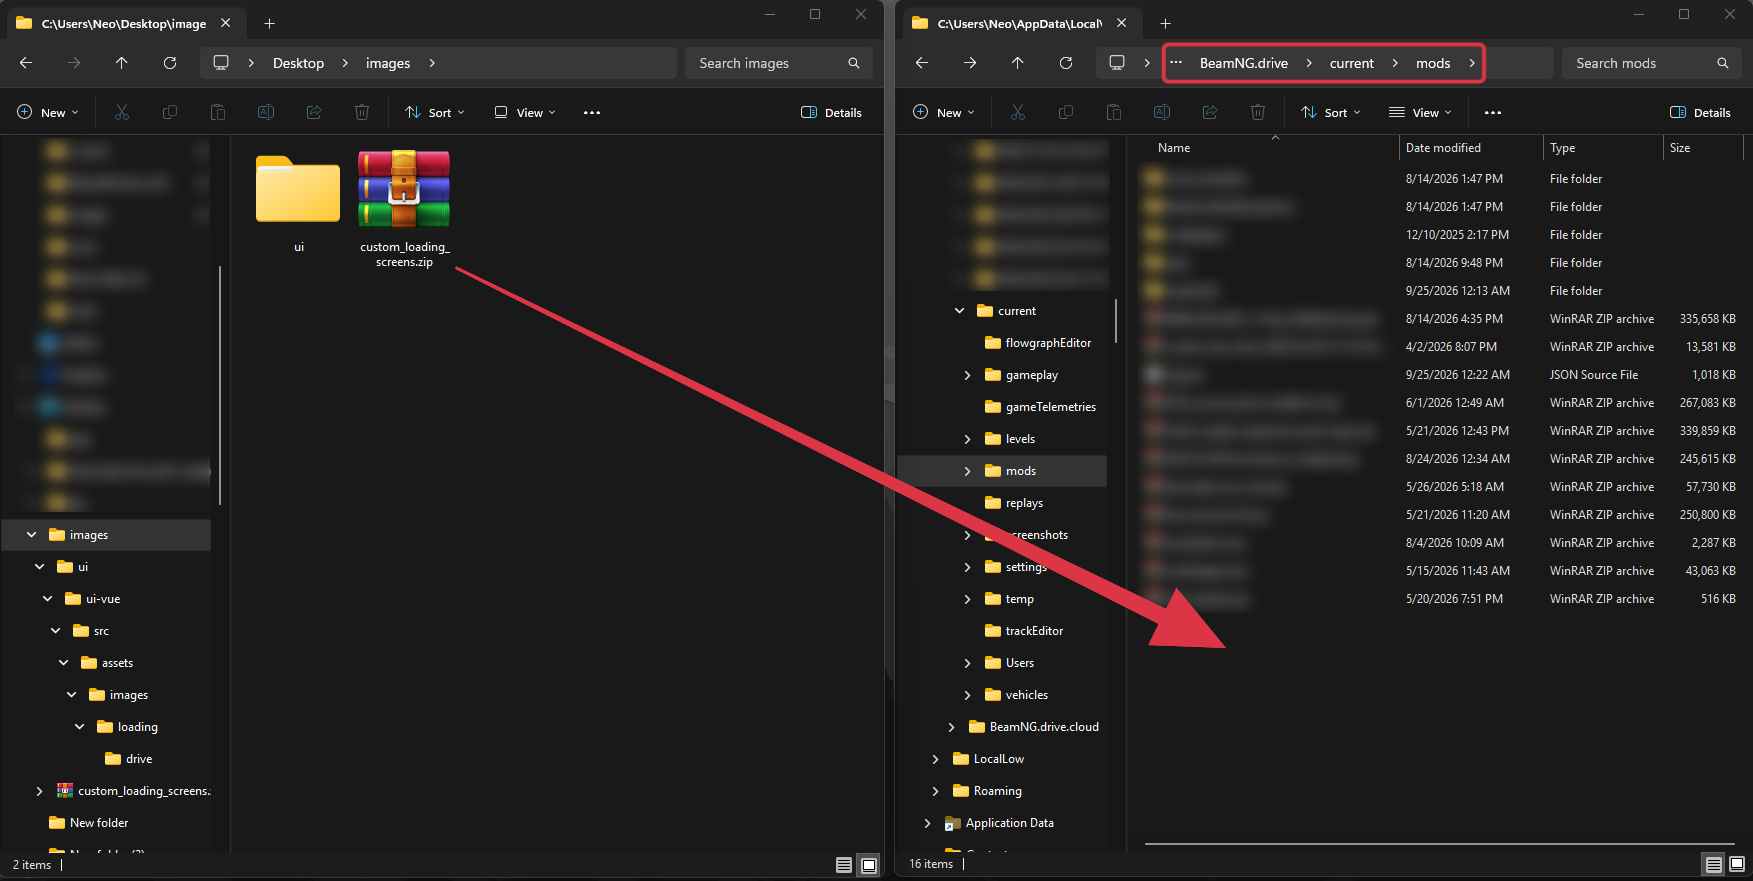
Put the ZIP in your BeamNG.drive user folder's mods directory:AppData\Local\BeamNG\BeamNG.drive\current\mods\
Your user-folder location may differ. Keep the mod zipped unless your setup requires extraction. Open the game and enable the mod in the Mod Manager.
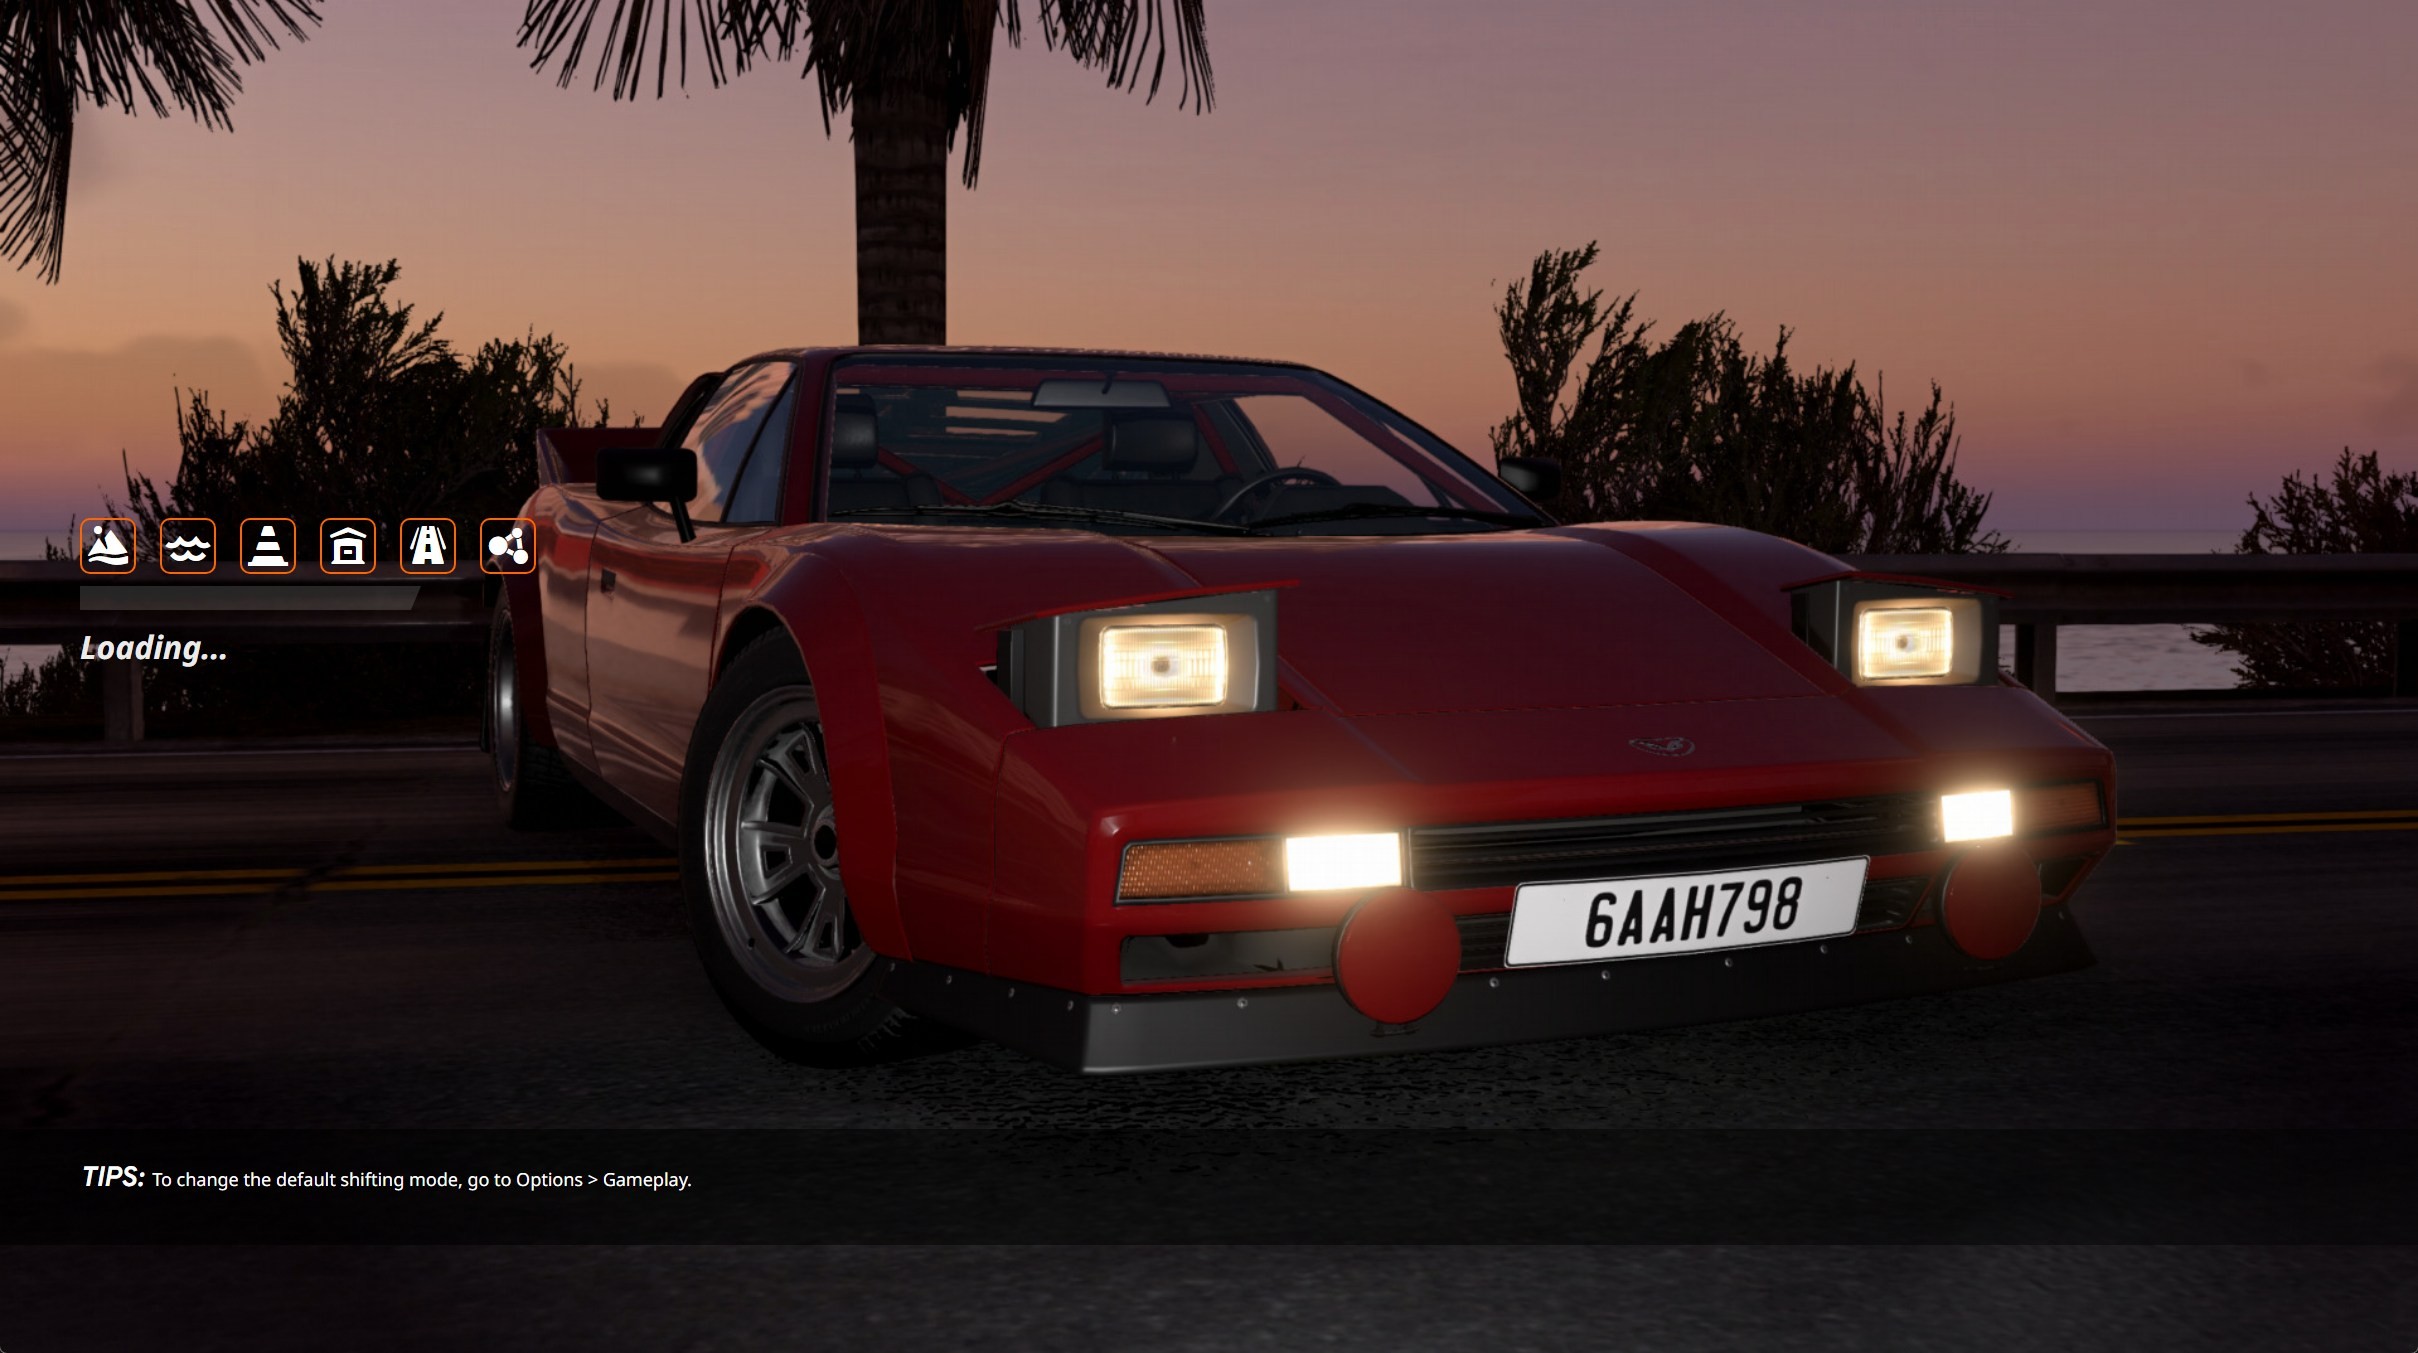
Load a map to see your new loading screen. If some images are missing, check that the ZIP has all 15 numbered JPGs and that its folders match the example above.
Note
The path can change with game updates. To find it, press Ctrl + U in BeamNG.drive to open the CEF developer tools. Select the Network tab, filter by Img, and load a map.
Find the request for one of the numbered loading images. Its path shows where the game is looking for that file.
Комментарии